To install attic stairs, start by understanding the types of attic stairs available, such as folding, telescoping, and sliding stairs, and choose one that suits your needs. Next, gather the necessary tools, including a saw, drill, carpenter’s square, tape measure, and a level. Take accurate measurements of your floor-to-ceiling height attic opening size, and account for swing clearance and landing space. Prep your installation area by marking the dimensions and clearing debris or obstructions.
Install and secure your stairs, then perform regular maintenance to guarantee their longevity and safety. Maintaining the moving parts and addressing issues promptly minimize the chances of accidents and ensure a longer lifespan for your attic stairs. Keep moving forward, as understanding these key elements in detail will ease the process further.
Key Takeaways
- Gather essential tools, including a saw, power drill, carpenter’s square, tape measure, and level for installation.
- Measure the floor-to-ceiling height and width, and choose the right type of stairs based on adjustability, weight rating, and material.
- Prepare the installation area by marking the opening dimensions accurately and clearing any debris or obstructions.
- Follow a regular maintenance schedule, including lubricating moving parts and tightening loose screws, to ensure longevity and safety.
- Keep the stairs clean and well-lubricated using a soft brush or cloth and dry lubricant to prevent rust and dust accumulation.
Understanding Attic Stair Basics
When contemplating attic stairs, it’s crucial to grasp that they offer secure access to your attic, coming in various types, such as folding, telescoping, or sliding stairs. Each type has its distinct benefits. For example, folding stairs are compact and convenient, telescoping stairs extend and retract smoothly, and sliding stairs offer easy operation.
When installing an attic ladder, the process isn’t as intimidating as it seems. But before you start, there are key factors to take into account. One of these is the weight capacity of the stairs. Always select attic stairs that can comfortably handle the combined weight of the user and any items that will be carried up or down the stairs.
Clearance and headspace are also significant. Measure your space accurately to ensure the stairs fit well and provide enough room to move without hitting your head.
Lastly, pay attention to the material. Whether it’s aluminum or wood, picking a material that guarantees durability is crucial. It’s a long-term investment, after all. So, take your time to understand these basics before proceeding with the installation.
Necessary Tools for Installation
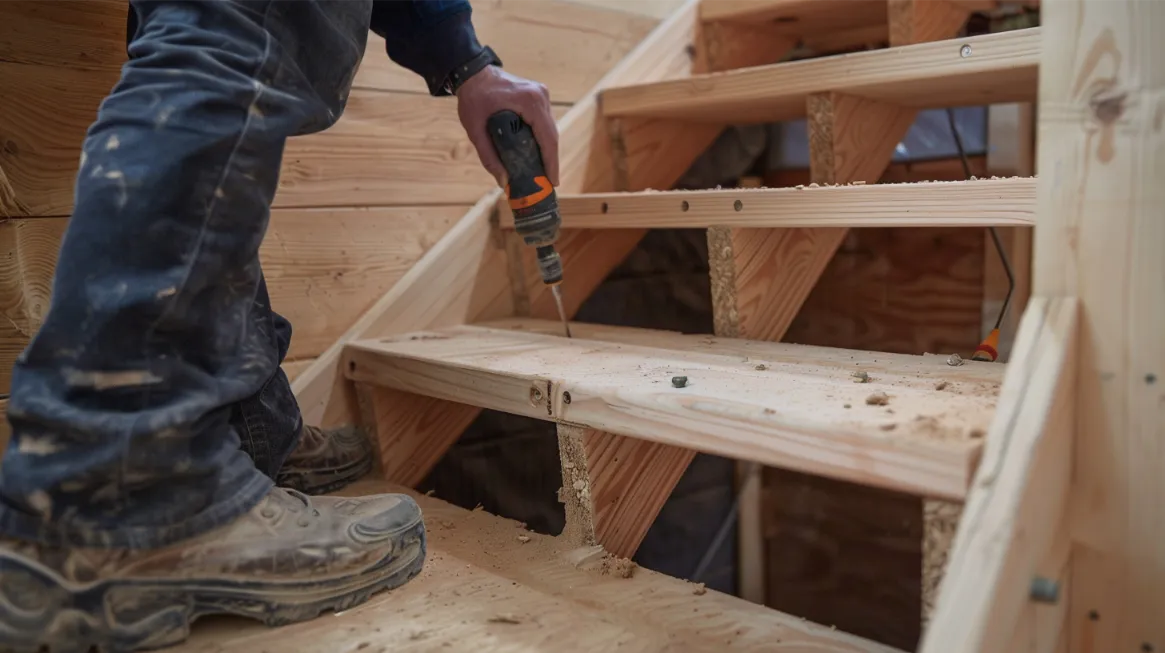
Now that you’ve got a handle on the basics let’s look at the tools you’ll need to install successful attic stairs. You’ll need a hand, or drywall saw for cutting, a power drill for securing the ladder, a carpenter’s square for accuracy, a tape measure for dimensions, and a level for alignment. Each tool is important in ensuring a precise and secure installation process.
It’s important to familiarize yourself with these tools and their functions before starting. For instance, a tape measure is used to determine the exact dimensions of the attic opening and the ladder. On the other hand, the power drill is essential for securing the ladder firmly in place. Without a level, you can’t guarantee the alignment of your stairs, which is crucial for safety.
Having the right tools on hand makes the installation smoother and more efficient. It’s not just about getting the job done but correctly. So, equip yourself with these tools, and you’re one step closer to a successful attic stairs installation.

Measuring the Attic Space
Before you can start installing your attic stairs, it’s crucial that you accurately measure the space in your attic to make sure the stairs will fit properly. Get your tape measure, and let’s start with the basics.
First, measure the floor-to-ceiling height. This will determine the length of your attic stairs. Make sure you’re noting down the exact measurements. Any inaccuracies could lead to a poor fit, requiring costly adjustments later.
Next, measure the width and length of the potential area for the stairs. This guarantees that your attic stairs will fit comfortably in the available attic space. Remember, you’ll need enough room for the stairs to open and close easily.
Also, look for any obstructions that could affect the placement of your attic stairs. These could be anything from structural beams to HVAC ducts. A careful survey of your attic space now could save you a lot of trouble in the future.
Measuring your attic space accurately is crucial for a successful installation. Don’t rush; take your time to get it right. Once you’ve done that, you’re one step closer to your new attic stairs.
Choosing the Right Stairs
Selecting the right attic stairs requires careful consideration of several key factors, including material, adjustability, weight rating, and dimensions. You must choose the material wisely, whether aluminum or wood. The material you choose shouldn’t just be sturdy and capable of comfortably supporting the weight frequently placed on it.
Next, look at the adjustability of the attic stairs. Adjustable-height stairs can be a boon, especially if your floor-to-ceiling measurements are unique. It’s essential to have stairs that fit your specific needs.
Don’t forget to check the weight rating. You don’t want your stairs to collapse under a heavy load, so ensure they can safely support the weight you plan to put on them.
Finally, measure your attic opening size to determine the right dimensions for the stairs. This ensures a perfect fit without any inconvenience.
Last but not least, consider the swing clearance. Your attic stairs should have enough swing clearance and landing space for safe and convenient access. With these considerations in mind, you’ll find the right attic stairs that offer durability, safety, and ease of use.
Prepping the Installation Area
First and foremost, you’ll need to accurately measure and mark the opening dimensions to ensure your new attic stairs fit perfectly. Use a tape measure to determine the distance between the ceiling joists and chalk or pencil to mark the exact points. Remember, the size of the access point should accommodate the chosen stairs plus additional room for safe access.
Next, check for potential obstacles, such as plumbing or wiring, that could interfere with the installation. You’ll want to reroute these before you begin. Verify if the attic has sufficient headspace to allow for the stairs. Consider the landing space at the bottom, which should also meet the required dimensions for a secure and safe installation.
Finally, clear the area. Ensure no debris, dust, or obstructions could pose a risk or hinder the process. A clean and safe workspace is essential for smooth installation.
With the installation area prepped and ready, you’re one step closer to enjoying the accessibility and convenience of your new attic stairs. Remember, this preparation work is vital for a successful installation.

Assembling the Stair Unit
With your installation area ready, assemble the stair unit, which is an equally important step. Ensuring all the stair unit components are accounted for before you begin is vital. This DIY project requires precision, so follow the manufacturer’s instructions carefully. Doing so will guarantee that you assemble the stair unit correctly and avoid any mishaps during installation.
Get a hold of your toolbox and check all screws and bolts. They need to be tightened properly to ensure a secure and stable structure. Even one loose bolt can compromise the safety of your attic stairs, so it’s worth taking the time to double-check.
Next, grab a level. You’ll need it to ensure your stair unit is straight and properly aligned. This isn’t just about aesthetics; an uneven stair unit can lead to instability and safety issues. Take the time to get it right.
Securing the Stairs in Place
Once you’ve assembled the stair unit, it’s time to secure it, ensuring it’s level and perfectly aligned with the attic opening. The key is to install it so it’s solid and safe for regular use.
Start by checking for any gaps between the stairs and the attic opening. If you find any, use shims to adjust them. These thin pieces of material can fill the gaps and stabilize your stairs.
Next, you’ll need to secure the stairs to your support boards or framing. Use sturdy screws to do this, making sure to drive them in tightly for a firm hold.
Consider adding handrails to your attic stairs. Not only do they offer additional stability when climbing up and down, but they also provide an extra layer of safety.
Before you finish, give your stairs a test. You want to make sure they operate smoothly and are stable. If you pick up on any issues, it’s much easier to troubleshoot and fix them now rather than later.

Post-Installation Checks and Maintenance
After setting up your attic stairs, you mustn’t overlook routine inspections and upkeep to guarantee their durability and safety. The first task is to remove the support boards used during installation. This won’t be necessary again unless you do major work on the stairs.
Next, check the ladder for any signs of wobbling or instability. If it’s shaky, tighten any loose screws or bolts immediately. Inspecting all hardware and connections for signs of wear or loosening is vital. If you notice any, take action right away to prevent future problems.
Ensure you lubricate moving parts, like hinges and springs, to prevent rusting and ensure smooth operation. Use a dry lubricant, as it won’t attract dust and grime.
Speaking of dust, remember to clean the ladder regularly. Accumulated dust and debris can affect its functionality over time. You can use a soft brush or cloth for this.
In essence, post-installation checks and maintenance are all about vigilance. Look for any damage or issues with the ladder and address them promptly. This way, you’ll guarantee the longevity and safety of your attic stairs.
Frequently Asked Questions
Is an Attic Ladder Hard to Install?
Yes, installing an attic ladder is challenging, especially if you’re inexperienced. Precise measurements and structural modifications are necessary. If unsure, seek professional help to guarantee proper installation and safety.
How Much Should I Charge to Install Attic Stairs?
Charging based on labor, materials, and complexity would be best. On average, labor costs range from $200-$500, excluding the stairs. Include extra for modifications or high-end materials. Always research local rates for fairness.
What Size Opening Do You Need for Attic Stairs?
For attic stairs, you’ll need a standard opening of about 22.5 x 54 inches. However, larger aluminum ones might need 25 x 66 inches, and oversized wooden ones could require 30 x 54 inches. Also, consider your ceiling height.
How Long Does It Take to Install an Attic Ladder?
You’d typically spend around 4-6 hours installing an attic ladder. This could vary based on your experience level and preparation. Carefully planning and following instructions can help streamline the process.


