To frame a mirror, gather tools like MDF baseboards, a tape measure, a level, a miter saw, and liquid nails—Mark where the frame will go, ensuring a 1-inch overlap. Cut frame materials at 45-degree angles for clean corners, then paint or finish them for durability. Assemble the frame with glue and duct tape, allowing time to dry completely. Attach the frame using construction adhesive and align it carefully. Finish with caulk and touch-ups for a seamless look. These steps guarantee a professional finish. Ready to enhance your decor with a mirror frame that shines?
Key Takeaways
- Measure mirror for frame size accurately
- Cut frame materials at 45-degree angles
- Paint frame with oil-based paint for durability
- Assemble the frame with glue and secure the corners
- Attach frame to mirror with construction adhesive
Gather the Necessary Tools and Materials
To frame a mirror successfully, gather primed MDF baseboards, a tape measure, a level, a miter saw, and liquid nails. To create a polished frame, the baseboards should overlap the mirror edges by 1 inch on all sides.
Choose oil-based paint for a professional look on the baseboards. Before painting, lightly sand the baseboards with extra fine sandpaper to guarantee a smooth finish. Apply a clear top coat for added protection and sheen.
Secure the mirror frame using liquid nails once the baseboards are painted and dried. Before the adhesive sets, check that the frame is level and straight.
Measure and Mark the Mirror
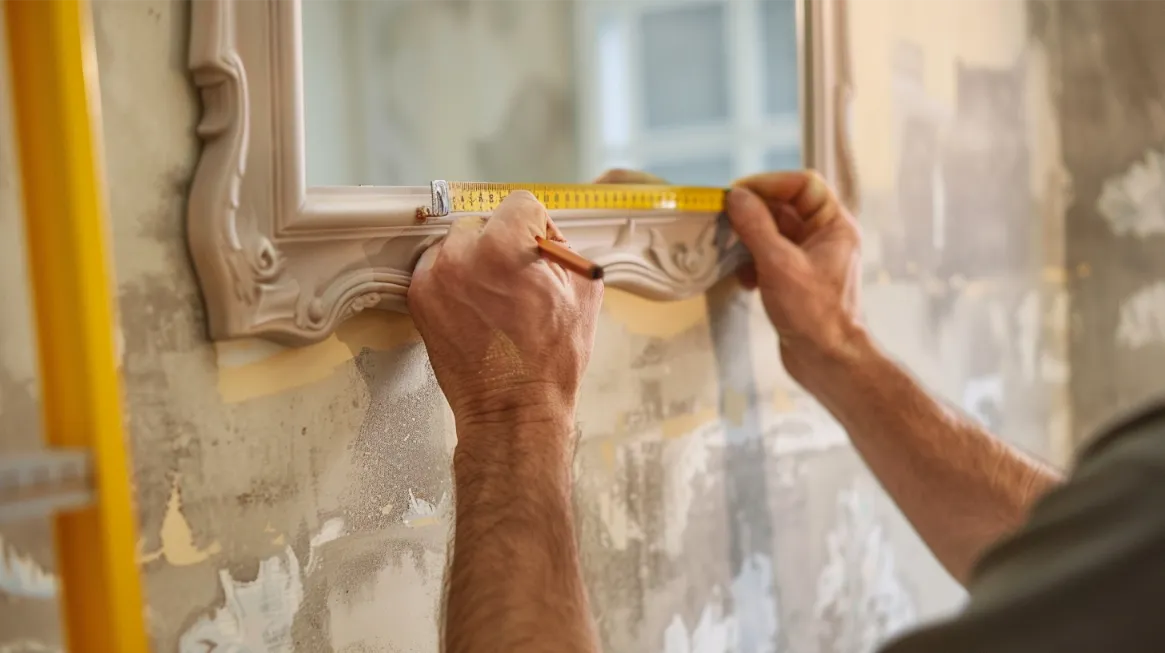
When measuring and marking the mirror for framing, guarantee precision by accurately determining the width and height to establish the frame size. Use a tape measure to measure the dimensions of the mirror carefully.
Mark where the frame will sit around the mirror, considering the wood frame’s design and style. Accurate measurements are essential to avoid gaps or overlaps when framing the mirror later. By marking the mirror, you can visualize the frame placement and ensure a precise fit. Take your time with this step to ensure the frame will fit perfectly around the mirror once it’s cut.
Proper measurement and marking now will make the framing process smoother and more successful.
Cut the Frame Materials to Size
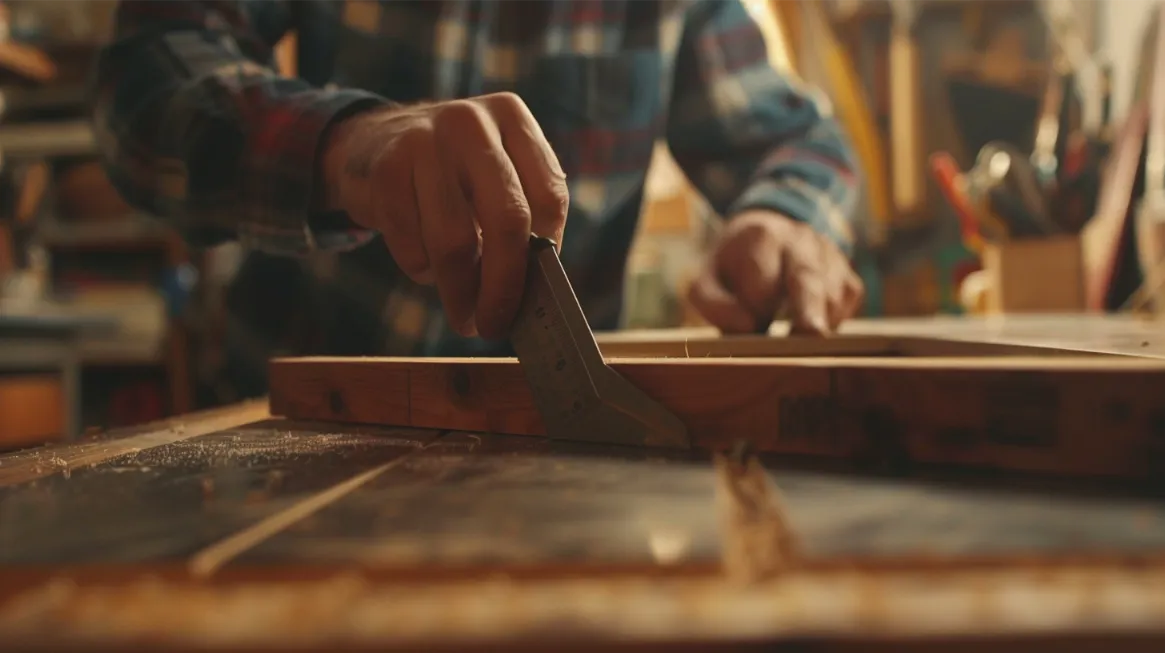
Cut the frame materials to size accurately using a miter saw set at a 45-degree angle for clean corners. When cutting the wood frame for your DIY mirror frame, make sure to:
- Measure the dimensions of the mirror and mark the frame materials accordingly.
- Use a miter saw to cut the frame materials at a 45-degree angle for precise corners.
- Verify the frame materials are cut precisely to fit the mirror edges snugly.
- Double-check the measurements and cuts before proceeding to the assembly step.
Accurate cutting is crucial to achieve a seamless and professional-looking mirror frame. Take your time to confirm the cuts are precise, as this will significantly impact the final result.
Paint or Finish the Frame Pieces
For a professional and durable finish on your mirror frame, consider applying oil-based paint evenly with a foam paint brush or paint sprayer.
Before painting, you may want to use painter’s tape to protect areas you don’t want to paint. Also, apply wood glue to secure any joints in the frame pieces.
Start by applying a thin layer of paint, allowing it to dry completely before adding additional coats for a smooth finish. Consider using two to three coats of paint, letting each one dry thoroughly.
Once the paint is dry, add a clear top coat or sealer to protect the frame and give it a polished look.
Assemble the Mirror Frame
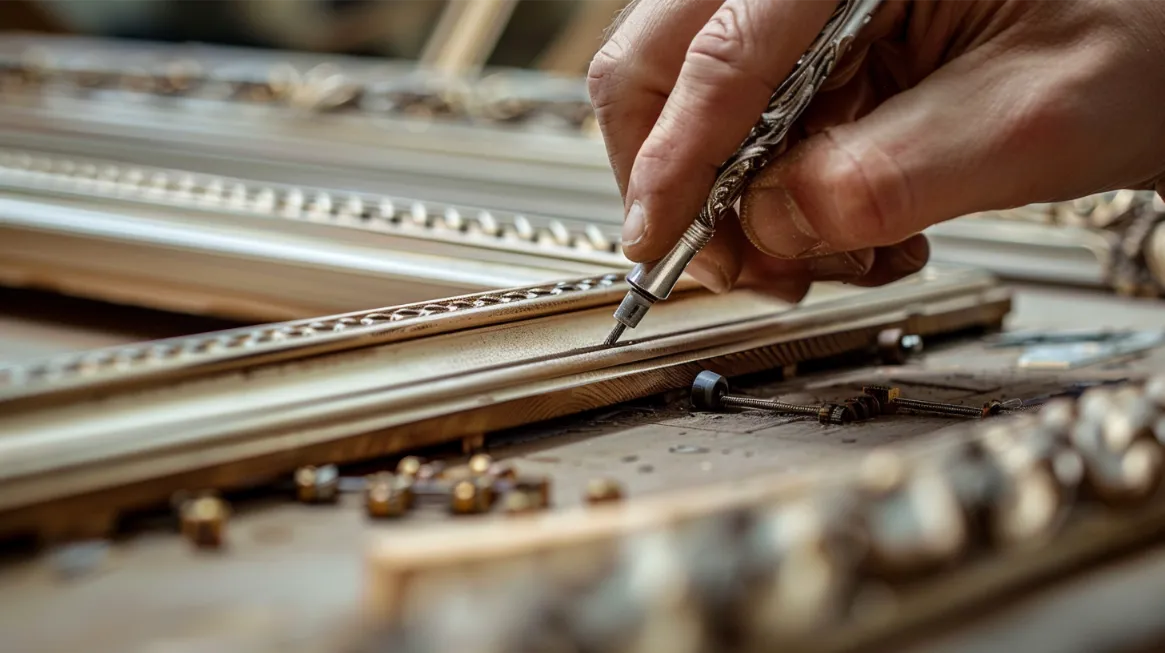
To assemble the mirror frame, apply liquid nails or wood glue to the back of the framing pieces. Secure the corners of the frame with duct tape while the glue dries. Allow the frame to dry overnight for stability and durability. If desired, consider adding shoe molding for a decorative touch.
- Apply glue to the back of the framing pieces.
- Secure corners with duct tape
- Let dry overnight
- Consider adding shoe molding for decoration
Once dry, you can paint the frame to match your bathroom decor and hang it up for a finished look. This DIY project allows you to customize your mirror with a personal touch.
Attach the Frame to the Mirror
Using construction adhesive, firmly attach the frame to the mirror surface, ensuring proper alignment with the edges before pressing it into place. Apply the construction adhesive along the back of the frame to create a secure bond with the mirror.
Using a level, ensure the frame is level and parallel to the mirror. Press the frame firmly onto the mirror to guarantee a strong connection with the adhesive.
Follow the manufacturer’s instructions and allow the adhesive to dry completely before hanging the framed mirror. This step is essential to guaranteeing the frame stays securely in place and enhances the overall look of the mirror.
Proper attachment will result in a polished and professional finish.
Finish With Caulking and Touch-Ups
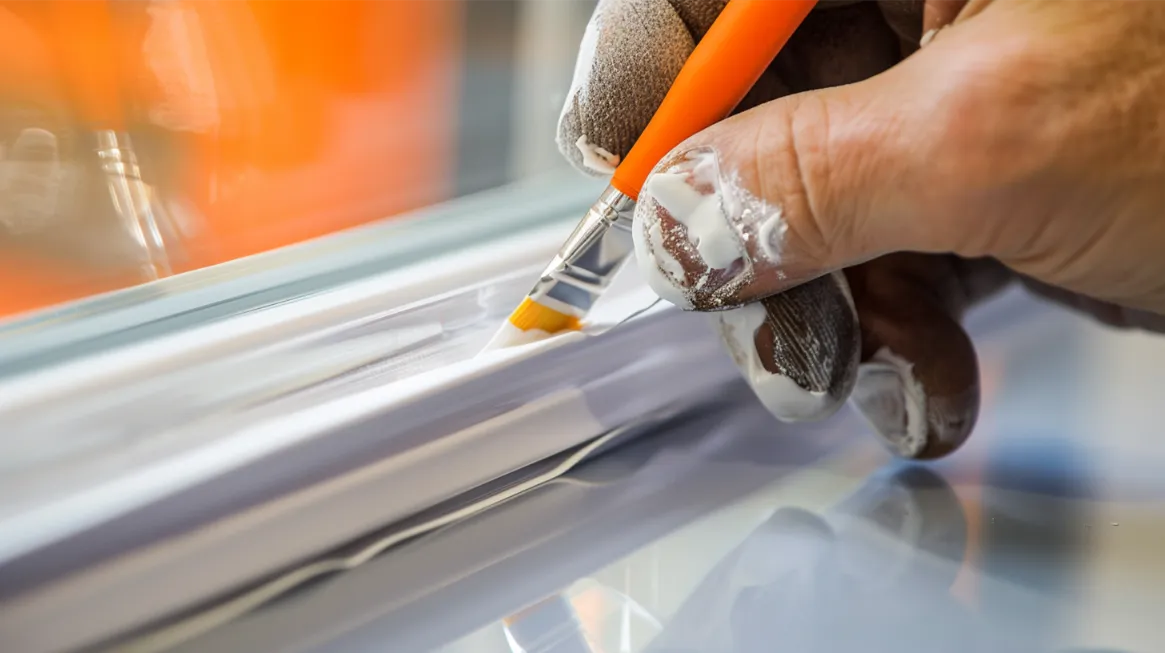
Smooth-out caulk seams where the frame meets the mirror to achieve a seamless and professional appearance. When finishing with caulk and touch-ups, follow these steps for a flawless result:
- Apply paintable caulk to the seams to match the frame color.
- Use a wet finger to smooth out the caulk for a clean look.
- Cover any areas where the caulk meets the frame with paint to hide imperfections.
- Verify the caulk dries completely before considering the framing project complete.
Frequently Asked Questions
How Do You Put a Frame Around a Mirror?
To put a frame around a mirror, measure accurately, cut pieces at 45-degree angles, secure with construction adhesive, and then paint or stain to match your style. Finish by caulking gaps for a polished look.
How Do You Cover the Edges of a Mirror?
Select trim materials that match your style to cover the edges of a mirror. Use adhesive to attach them securely. Consider painting or staining for a cohesive design. Guarantee full coverage for protection and a polished finish.


