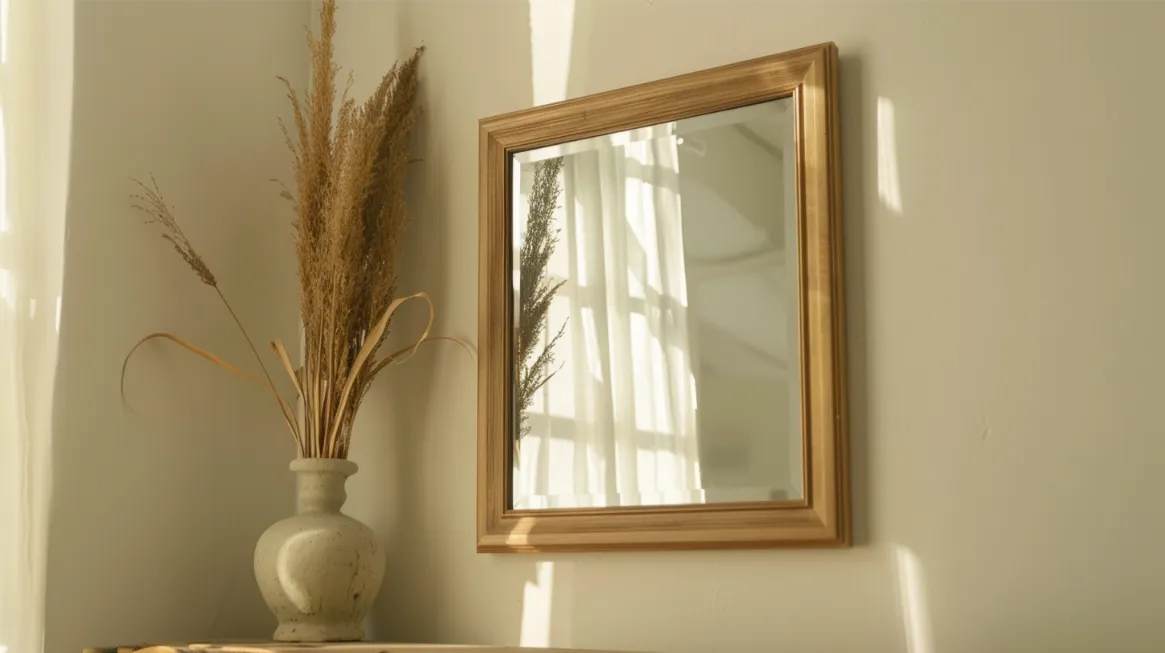
Wondering about “How to Waterproof Wood” and keeping your wooden treasures safe from moisture’s reach?
It’s all about mastering waterproofing techniques for your outdoor deck or cherished garden chair.
This guide delves into the top methods: sealants, natural oils, and a combination of stains and sealers suitable for any wood type and application.
These strategies protect your wood from moisture, preserving its beauty and durability.
Ready to extend your wood’s life?
Let’s get started on this essential maintenance journey.
Why Waterproof Wood?
Wood, by its nature, is a porous material that can absorb water.
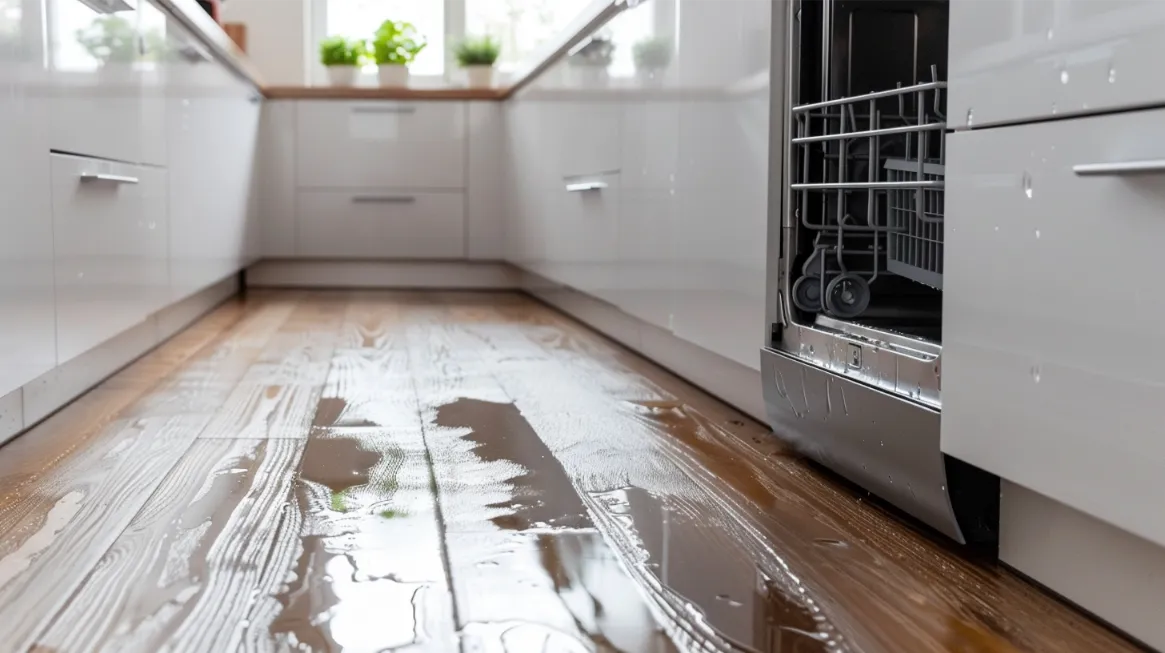
Without protection, this moisture can lead to swelling, warping, and eventually rotting, compromising the wood’s function and aesthetics.
Furthermore, in outdoor settings, unprotected wood is vulnerable to the ravages of weather, from sun exposure leading to fading and UV damage to rain and snow contributing to water damage and decay.
Beyond the immediate impacts, moisture in wood creates an ideal environment for mold and mildew growth, which can pose health risks and further damage the wood.
Indoor wooden surfaces and structures are not immune to these effects, as high humidity levels in certain environments, like bathrooms or kitchens, can similarly degrade wood over time.
The benefits of waterproofing extend to enhancing the wood’s natural beauty and contributing to its durability.
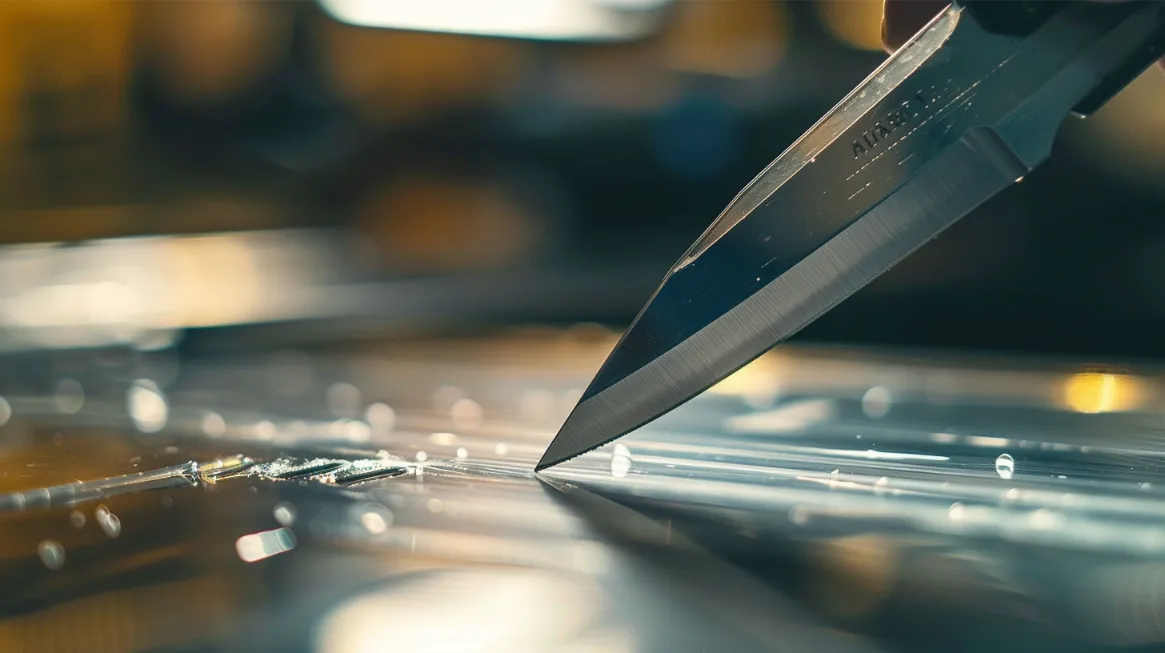
Preparing Wood for Waterproofing
Begin by ensuring the wood is clean and free of dirt, grease, and previous finishes.
Sand the surface with medium to fine-grit sandpaper to remove any rough spots and open up the wood’s pores for better absorption of the waterproofing material.
After sanding, thoroughly clean the surface with a tack cloth or a damp rag to remove all dust.
The wood must be completely dry before applying any waterproofing treatment, as moisture trapped beneath the sealant can lead to mold growth and wood decay.
RELATED: The 5 Best Paints for Deck
Choosing the Right Waterproofing Method
Selecting the appropriate waterproofing method depends on several factors, including the type of wood, its intended use, and exposure to elements.
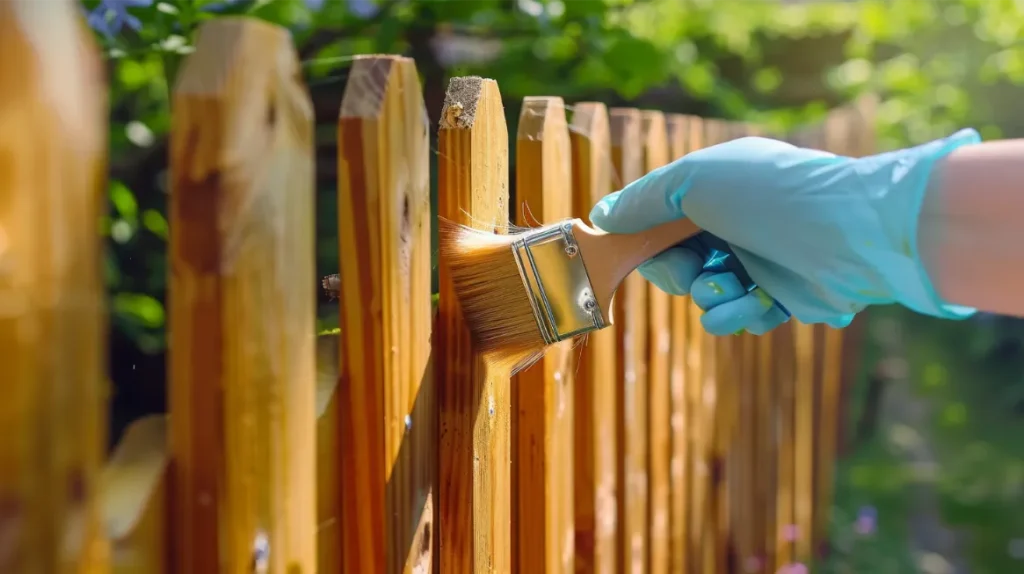
A durable sealant that provides UV protection and moisture resistance is ideal for outdoor projects exposed to the elements, such as decks and outdoor furniture.
Indoor projects may benefit from natural oils that enhance the wood’s appearance while offering basic protection against spills.
Consider the wood’s natural characteristics as well; dense woods like maple may fare well with thin, penetrating oil, whereas softer woods like pine can benefit from thicker sealants that form a protective barrier on the surface.
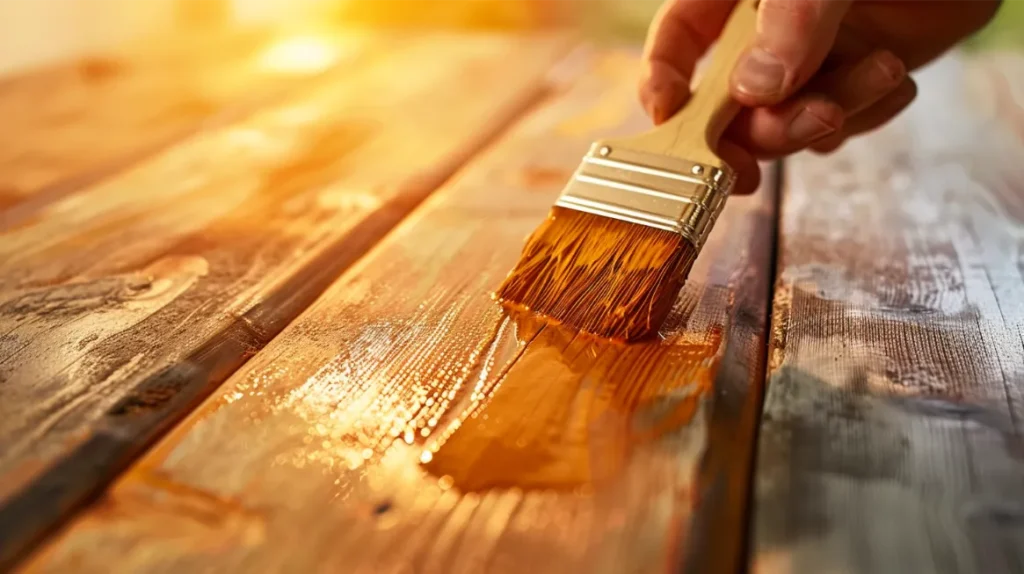
Method 1: Waterproofing Wood with Sealant
Types of Sealants
- Polyurethane is a popular choice for its durability and resistance to water, chemicals, and heat. It’s available in water-based and oil-based formulas, with different sheens from matte to high gloss.
- Varnish offers a hard finish that is excellent for outdoor use, providing UV resistance and protection against the elements. Adding a rich, amber glow enhances the wood’s natural beauty.
- Lacquer dries quickly and creates a durable, glossy finish. It’s suitable for furniture and interior woodwork, although it may yellow over time on lighter wood.
Step-by-Step Application Process
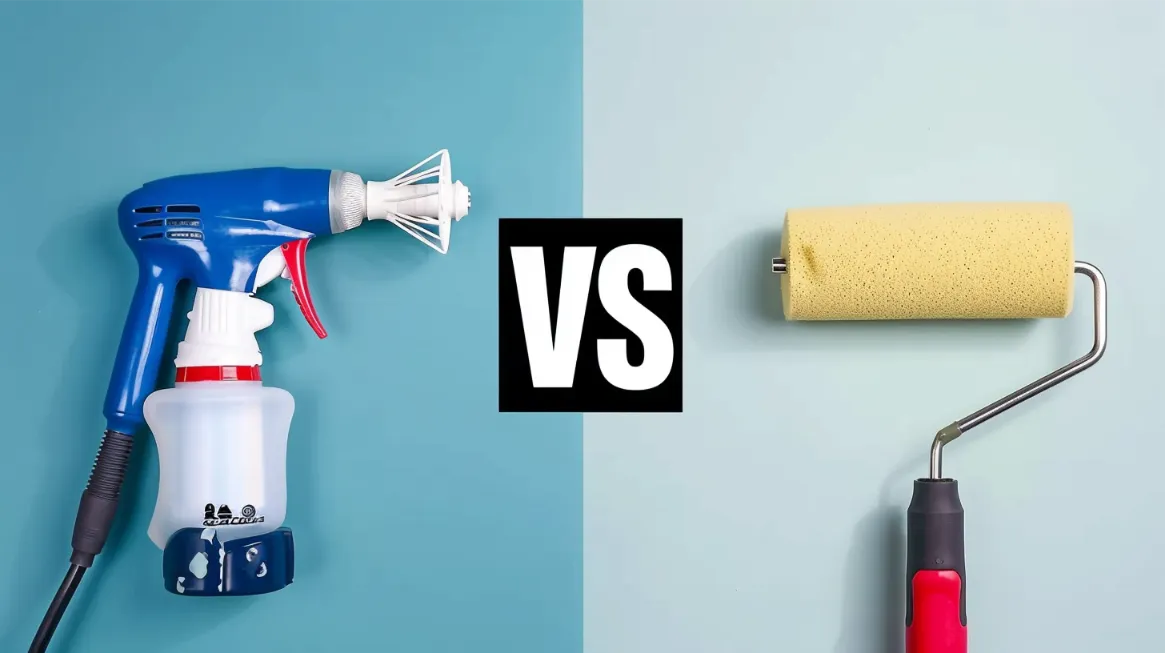
- Tool Selection: Choose a high-quality brush, roller, or paint sprayer suitable for the type of sealant you’re using. Brushes are ideal for detailed work and smaller projects; rollers can cover large surfaces efficiently, and sprayers offer a smooth finish on intricate or uneven surfaces.
- Mixing: Stir the sealant gently to ensure a consistent mixture. Avoid shaking, which can introduce air bubbles.
- First Coat Application: Apply the first coat evenly, following the wood grain. For oils and thin sealants, a brush or cloth can be used; for thicker sealants like polyurethane, a brush or roller is more effective.
- Drying: Following the manufacturer’s recommended drying time, allow the first coat to dry completely. Conditions like humidity and temperature can affect drying times, so adjust accordingly.
- Sanding: Lightly sand the surface between coats with fine-grit sandpaper to ensure a smooth finish and better adhesion of the next coat.
- Subsequent Coats: Apply additional coats as needed, allowing for full drying and sanding in between. Two to three coats are typical for most projects, but the specific number will depend on the wood and the sealant used.
Tips for Achieving the Best Results
- Test the sealant on a small, inconspicuous area of the wood to ensure it provides the desired finish and does not react adversely with the wood.
- Work in a well-ventilated area to ensure proper drying and avoid inhaling fumes, especially when using oil-based sealants.
- Maintain a wet edge while applying sealant to avoid lap marks and ensure a uniform coat.
- Properly clean and store your tools after use to extend their life and ensure they’re ready for your next project.
Method 2: Waterproofing Wood with Oil
Benefits of Using Oil
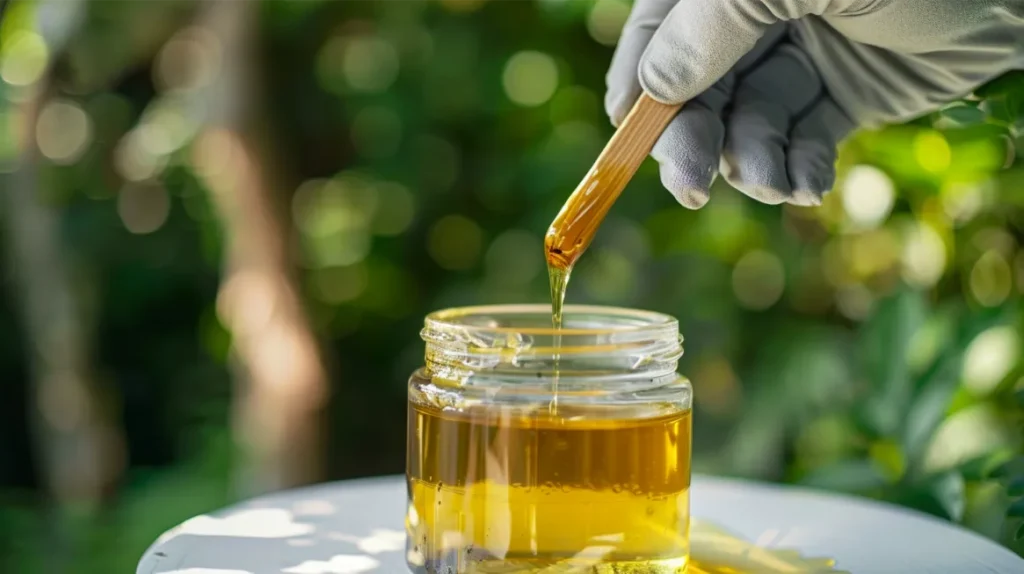
Natural oils, such as Tung oil and linseed oil, are preferred for waterproofing wood because they penetrate deep into its fibers, enhancing its natural beauty and providing a durable finish that does not crack or peel over time.
Unlike synthetic options, natural oils are environmentally friendly and safer for indoor use without strong odors or harmful chemicals.
Tung oil is celebrated for its tough, water-resistant finish and ability to resist marring and scratches, making it ideal for surfaces that see a lot of wear.
Linseed oil, on the other hand, is easier to apply and gives the wood a soft, nurturing glow, perfect for antique furniture restoration and interior woodwork.
Applying Oil for Waterproofing
- Surface Preparation: Ensure the wood is clean, dry, and sanded smoothly. Remove all dust with a tack or lint-free cloth to prevent imperfections.
- Mixing the Oil: If using raw linseed or Tung oil, consider thinning it with a solvent like mineral spirits to enhance penetration and reduce drying time. A common mixture is one part oil to one part solvent.
- Initial Application: Using a clean, lint-free cloth or a natural bristle brush, apply the oil evenly across the wood’s surface, working in the direction of the grain. Ensure complete coverage for uniform protection.
- Absorption Time: Allow the oil to penetrate the wood for 15-30 minutes. Wood type and environmental conditions can affect absorption time.
- Wiping Off Excess: After the oil has had time to soak in, gently wipe off any excess oil with a clean, dry cloth. This prevents sticky or uneven finishes.
- Drying: Leave the wood to dry in a well-ventilated area. Drying times can vary from 24 hours to several days, depending on the oil type and ambient conditions.
- Additional Coats: For a more durable finish, apply additional coats, sanding lightly with fine-grit sandpaper between each coat to ensure a smooth, professional finish. Two to three coats are usually sufficient, but more may be applied for richer finishes.
- Achieving a Hand-Rubbed Finish: For the final coat, apply a smaller amount of oil and rub it vigorously into the wood with a clean cloth using circular motions. This technique enhances the grain’s appearance and creates a silky, matte finish that feels as good as it looks.
Tips for Best Results
- Always test the oil on a small, inconspicuous area to ensure it gives the desired effect.
- Consider the wood’s usage; more coats may provide better protection for high-traffic areas.
- Ensure each coat is fully dry before applying the next to avoid a tacky finish.
- Use proper ventilation when working with oils, especially when mixed with solvents.
- Store oil-soaked rags in a water-filled, sealed container to prevent spontaneous combustion, a common hazard with drying oils.
Method 3: Waterproofing Wood with Stain-Sealer Combos
Advantages of Stain-Sealer Combos
Stain-sealer combinations offer a dual-action solution that colors and protects the wood in one step, saving time and effort compared to separate staining and sealing processes.
These products are particularly advantageous for large projects like decks, fences, and outdoor furniture, where efficiency is key.
Stain-sealer combos come in a wide range of colors and finishes, allowing for customization of the wood’s appearance while ensuring it is adequately protected against moisture, UV rays, and wear. This versatility makes it possible to match or enhance any outdoor space’s decor and style.
Application Guidelines
- Surface Preparation: Start with a clean, dry, smooth wood surface. Use a deck cleaner or mild detergent to remove dirt and grime, and sand the wood lightly to remove any rough spots or remnants of previous finishes. Ensure the wood is completely dry before application.
- Choosing the Right Product: Select a stain-sealer combo suitable for the wood type and expected weather conditions. Consider UV resistance, water repellency, and the desired finish when choosing.
- Applying the First Coat: Stir the product thoroughly to ensure color consistency. Using a brush, roller, or sprayer, apply the stain-sealer evenly across the surface, working in sections and maintaining a wet edge to avoid lap marks. Brushes work well for detail areas and edges, while rollers and sprayers can cover large surfaces more efficiently.
- Drying Time: As per the manufacturer’s instructions, allow the first coat to dry completely. Drying times can vary based on humidity, temperature, and the product used.
- Applying Additional Coats: If necessary, apply a second coat to enhance color depth and protection. Wait for the first coat to dry thoroughly before applying subsequent coats. Some products may only require a single coat, so refer to the product’s guidelines.
- Even Application: To achieve an even finish, maintain consistent pressure and coverage when applying the stain sealer. Be mindful of drips and runs, especially on vertical surfaces, and smooth them out promptly.
- Final Drying: After applying the final coat, allow the wood to dry for the recommended time before using or placing objects on it. This ensures the finish is fully set and provides maximum protection.
Tips for Best Results
- Test the stain-sealer on a small, hidden section of wood to ensure satisfaction with the color and finish before proceeding with the entire project.
- On hot or windy days, work in smaller sections to prevent the product from drying too quickly, which can result in uneven application.
- Clean tools immediately after use with the appropriate solvent, as specified by the product’s instructions, to ensure their longevity and readiness for future projects.
- Regularly check the wood’s surface for signs of wear or fading, and reapply the stain-sealer to maintain protection and appearance.
Maintenance and Reapplication
The frequency of reapplication depends on several factors, including the type of product used, exposure to weather, and the wood’s location and use.
Generally, outdoor wood surfaces should be re-evaluated and potentially re-treated every one to three years. Indoor wood might require less frequent maintenance, depending on its exposure to humidity and direct contact with water.
Signs that your wood needs re-waterproofing include:
- Visible wear or fading of the finish
- Water no longer beads up on the surface but soaks into the wood
- The appearance of mildew or mold on the surface
- Wood feels dry or brittle to the touch
Safety and Environmental Considerations
Always use products according to the manufacturer’s instructions and in well-ventilated areas to minimize inhalation of fumes, especially when working with solvent-based sealants, oils, or stains. Wear protective gear like gloves and masks to avoid skin and respiratory irritation.
Disposal of materials like oily rags: Oily rags, particularly those soaked with linseed oil, pose a fire hazard due to the potential for spontaneous combustion. Always dispose of these materials safely by soaking them in water and placing them in a sealed metal container before disposal. Never leave oily rags in a pile or throw them in regular trash without proper precautions.
FAQ
Can wood be made 100% waterproof?
While no wood treatment can make wood completely waterproof, the right sealants, oils, or stain-sealer combos can significantly enhance wood’s resistance to water. These treatments create a barrier that prevents water from penetrating the wood, effectively making it water-resistant and greatly extending its lifespan, especially in outdoor environments.
How many coats of sealant/oil are needed?
The coats required vary based on the product used and the wood’s condition. Generally, two to three coats of sealant or oil are recommended for optimal protection. However, the first coat should be observed for absorption rates, and additional coats should be applied until the wood no longer absorbs the product, indicating full saturation.
What is the best waterproofing method for outdoor furniture?
For outdoor furniture, a combination of a stain-sealer is often the best approach, offering both aesthetic appeal and protection. These products provide UV protection, resist mold and mildew, and can be reapplied as needed without stripping the previous layers. Choose a product based on the specific type of wood and the expected weather conditions it will face.
How do I choose between oil-based and water-based products?
Oil-based products offer deeper penetration and longer-lasting protection but can take longer to dry and may yellow over time. Water-based products dry faster and retain the wood’s color better but may require more frequent reapplication. When choosing, consider the project’s specific needs, including drying time, environmental exposure, and desired finish.
Conclusion
Waterproofing wood is critical in preserving its natural beauty and structural integrity.
You can protect your wood projects from moisture, UV damage, and wear by choosing the right waterproofing method, preparing the wood surface properly, and applying the product according to best practices.
Regular maintenance and reapplication, guided by the wood’s appearance and exposure, will ensure long-lasting protection and enjoyment of your wood surfaces.
Ready to take the next step in protecting and enhancing your wood projects?
Start your waterproofing project today with confidence, knowing you have the knowledge and tools to achieve lasting results.
Don’t hesitate to ask for more advice or share your successes. For more DIY tips and tricks, subscribe or follow us. Your next project awaits, and we’re here to help you make it a success.