A leaking dishwasher disrupts the convenience of your daily routine and poses a serious risk to your home.
If left unaddressed, water leakage can lead to significant water damage, affecting your home’s flooring, cabinetry, and even structural integrity.
Recognizing and promptly responding to signs of a leak in your dishwasher is crucial in preventing costly repairs and preserving the longevity of your appliance.
This guide aims to equip you with the knowledge to identify, diagnose, and fix common sources of dishwasher leaks, safeguard your home against water damage, and restore the functionality of your essential household appliance.
Understanding Why Your Dishwasher Is Leaking
A leaking dishwasher can be symptomatic of various issues, ranging from simple fixes to more complex mechanical problems. Understanding why your dishwasher is leaking is the first step towards implementing a lasting solution.
Common Causes of Dishwasher Leaks
- Faulty Door Gaskets: The rubber seal that runs along the perimeter of the dishwasher door, known as the gasket, is crucial for keeping water inside the appliance during operation. Over time, this seal can wear out, become brittle, or crack, leading to leaks around the door area.
- Damaged Water Inlet Valves: This valve controls water flow into your dishwasher. If it’s not functioning correctly, it can cause the dishwasher to overfill and leak. A malfunctioning valve can result from wear and tear, sediment build-up, or manufacturing defects.
- Clogs: Clogs in the filter, drain hose, or spray arm can lead to water backing up and leaking out of the dishwasher. These clogs can be caused by food debris, detergent buildup, or foreign objects obstructing water flow.
- Loose or Damaged Connections: Hoses and pipes that supply water to and drain water from the dishwasher can become loose or damaged, leading to leaks. Regular inspection of these components can prevent leakage issues.
- Overuse of Detergent: Using too much dishwasher detergent can create excessive suds, leading to leaks. It’s essential to use the recommended amount of detergent to avoid this issue.
By pinpointing the exact cause of the leak, you can move forward with the most appropriate repair method, ensuring a precise and efficient resolution to the problem.

Diagnosing Your Dishwasher Leak
Safety First
Start by unplugging the appliance from its power source. Turn off the dishwasher’s water supply to prevent accidental water flow or spillage during inspection.
Signs of a Leaking Dishwasher
Leaking dishwashers manifest in several noticeable ways, the most common being water on the kitchen floor directly in front of or under the appliance.
Another indicator is moisture or puddles forming under the dishwasher, which can signal a leak from the bottom.
These visual cues are often the first signs of a problem and should prompt a more thorough inspection to identify the source of the leak.
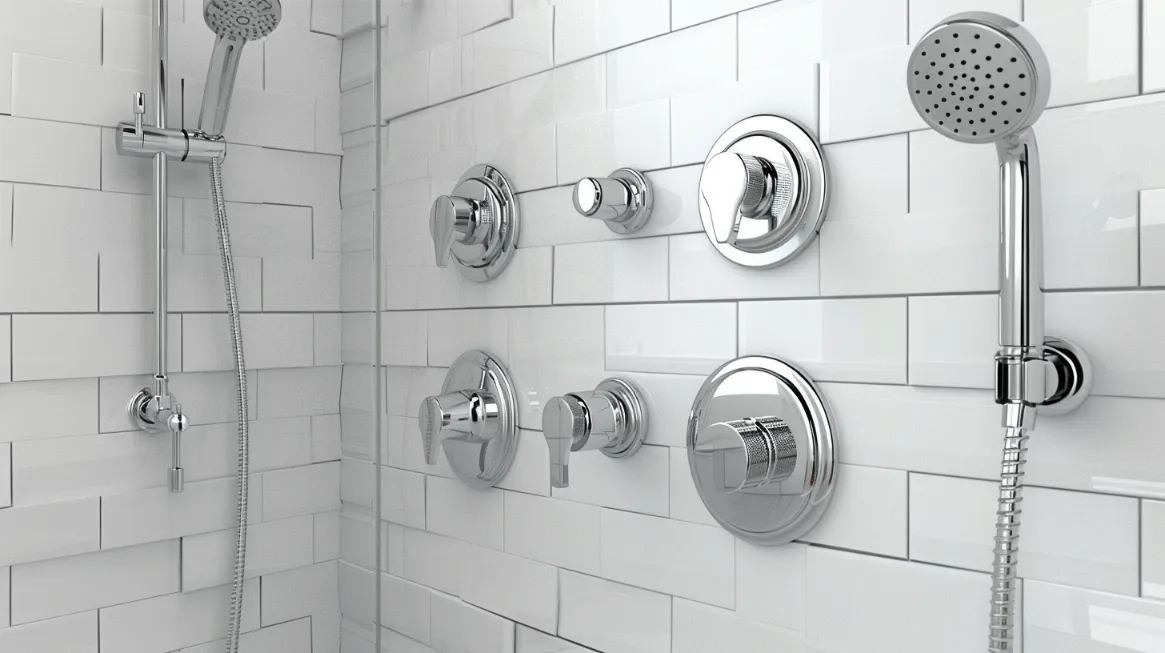
Checking the Dishwasher Door Gasket
The door gasket is crucial in maintaining the water seal during operation. A compromised gasket can result in leaks around the door perimeter. To inspect the gasket:
- Visual Inspection: Examine the entire length of the gasket for any signs of wear, cracks, or brittleness. Pay special attention to any areas that seem deformed or damaged.
- Physical Inspection: Gently press along the gasket with your fingers, feeling for any inconsistencies in its resilience or areas where it may not adhere properly to the door frame.
- Clean the Gasket: Sometimes, debris lodged in the gasket can prevent a proper seal. Clean the gasket with a damp cloth to remove dirt or food particles.
If the gasket is damaged or faulty during the inspection, it should be replaced to restore the dishwasher’s integrity and prevent further leaks.
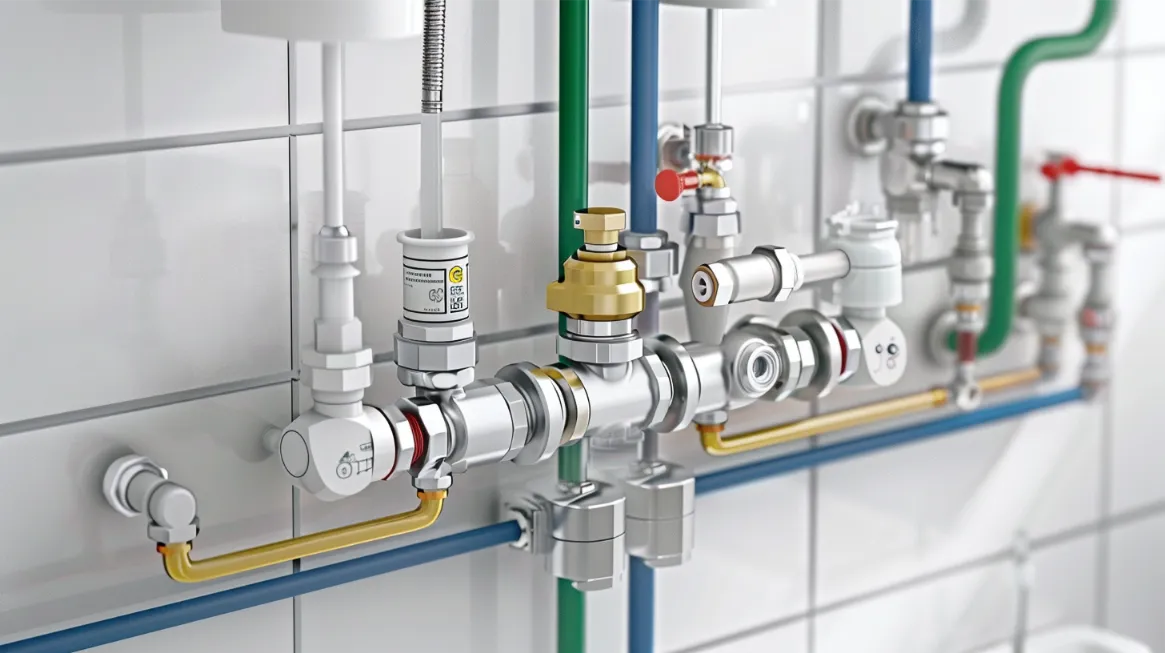
Inspecting the Water Inlet Valve
The water inlet valve, responsible for controlling water flow into the dishwasher, can be a culprit for leaks if it fails. To diagnose issues with the water inlet valve:
- Locate the Valve: The valve is typically found at the bottom of the dishwasher, near the front. You may need to remove the kickplate or lower panel to access it.
- Check for Damage: Look for signs of wear, corrosion, or damage on the valve and connecting hoses.
- Test the Valve: If equipped and comfortable using a multimeter, you can test the valve for electrical failure. However, visible signs of damage or malfunction typically warrant a replacement.
A faulty water inlet valve can cause the dishwasher to overfill, leading to leaks. If you suspect the valve is not functioning correctly, replacing it is often the most effective solution to prevent further overflow and leakage.
Step-by-Step Solutions to Common Leaking Problems
Once the source has been accurately identified, many leaks can be resolved with simple DIY fixes. Here’s how to address the most common issues with practical, step-by-step solutions.
Replacing the Dishwasher Door Gasket
A worn or damaged door gasket is a frequent cause of leaks around the dishwasher door. To replace it:
- Purchase the Correct Gasket: Ensure you buy the right model-specific gasket for your dishwasher. Using the appliance’s model number, obtain a replacement from an appliance parts supplier.
- Remove the Old Gasket: Gently pull the old gasket out of its groove on the door. It should come out without the need for tools.
- Clean the Groove: Wipe down the groove and the surrounding area with a mild soap solution to remove any residue or buildup.
- Install the New Gasket: Starting at the top center of the door, press the new gasket firmly into the groove, working your way around the perimeter to ensure a snug fit. Please make sure there are no twists or kinks as you install it.
- Check the Seal: Close the dishwasher door to securely press the gasket into place. Inspect the door to ensure the gasket is evenly compressed without any gaps.
Properly installing the correct gasket model is crucial for creating a watertight seal and preventing future leaks.
Fixing a Faulty Water Inlet Valve
The water inlet valve is key to controlling water flow into your dishwasher. If faulty, it can lead to overflows and leaks.
- Turn Off Power and Water Supply: Ensure the dishwasher is unplugged and the water supply is shut off.
- Access the Valve: Remove the kickplate or lower front panel to expose the water inlet valve, usually located near the front.
- Disconnect the Valve: Carefully disconnect the inlet, outlet hoses, and the wiring, taking note of their configuration for reassembly.
- Install the New Valve: Secure the new valve and reconnect the hoses and wiring as previously configured.
- Test for Leaks: Turn the water supply and power back on, then run a cycle to check for leaks around the new valve.
Choosing a replacement valve compatible with your dishwasher model is imperative to ensure optimal performance.
Clearing Clogs and Blockages
Clogs in the drain hose or spray arm can prevent water from exiting the dishwasher, causing leaks.
- Drain Hose:
- Locate and Disconnect the Hose: Access the drain hose from under the sink or behind the dishwasher. Disconnect it from the pump and sink drain.
- Inspect and Clear the Hose: Check the hose for obstructions. Flush it with water or use a long, flexible brush to remove clogs.
- Reconnect the Hose: Securely reattach the hose to the pump and drain, ensuring tight connections.
- Spray Arm:
- Remove the Spray Arm: Most spray arms can be unscrewed by hand or with a screwdriver.
- Clean the Spray Arm: Rinse under running water and use a toothpick to clear the holes.
- Reinstall the Spray Arm: Screw the clean spray arm back into place, ensuring it’s securely attached and spins freely.
Regular maintenance and prompt attention to clogs can prevent leaks and ensure your dishwasher operates efficiently.
When to Call a Professional for Dishwasher Repair
While many dishwasher leaks can be resolved with DIY methods, certain situations necessitate professional intervention.
If your dishwasher’s issues involve electrical components or complex mechanical systems, it’s safer and more efficient to enlist the help of a professional. Advanced problems, such as malfunctioning control panels or internal motor issues, require specialized knowledge and tools for safe and effective repair. Moreover, a professional diagnosis can identify underlying problems that might not be immediately apparent, preventing water damage and avoiding high water bills in the future.
Calling a professional ensures that your dishwasher is thoroughly examined and any repairs are carried out correctly, extending the life of your appliance.
Preventing Future Leaks
Preventative maintenance is key to ensuring your dishwasher runs efficiently and remains leak-free. Here are some tips to help avoid future leaks:
- Regular Inspections: Periodically check for and address any signs of wear or damage to hoses, seals, and gaskets.
- Proper Use of Detergent: Use the correct type and amount of dishwasher detergent as recommended by the manufacturer to avoid over-sudsing, which can lead to leaks.
- Correct Loading: Ensure dishes are loaded properly, according to the dishwasher’s guidelines, to prevent obstruction of the spray arm and door, which could cause leaks.
Conclusion
Addressing dishwasher leaks promptly is crucial in protecting your home from water damage and maintaining the efficiency of your appliance.
Whether you opt for a DIY fix or professional repair, immediate action can save you from more significant problems.
Regular maintenance and proper dishwasher use are your best defenses against future leaks.
Have you successfully fixed a leak in your dishwasher, or do you have tips to share? Comment below with your experiences or advice.