Have you ever found yourself in a standoff with a showerhead that won’t budge?
You’re not alone.
Stuck shower heads are a common household nuisance, often resulting from rust, mineral buildup, or the remnants of old plumber’s tape that’s become an almost cement-like barrier.
With the right tools and some know-how, this DIY project can be tackled efficiently, ensuring that the only thing flowing freely is your shower – not your spending on repairs.
This guide will walk you through the step-by-step process of liberating your stuck showerhead. Whether it’s coated in layers of mineral deposits or gripped by the rusted threads of time, you’ll learn how to navigate this challenge with ease.
So, grab your tools, and let’s dive into the world of DIY bathroom fixes, proving that sometimes, the best person for the job is you.
Why Shower Heads Get Stuck
Understanding the culprits behind this common bathroom predicament can provide insight into prevention and removal strategies.
Rust: Water, tough water, contains iron that, over time, can oxidize when exposed to air, leading to rust formation. This rust not only discolors your shower head but can also fuse the metal components, making separation a Herculean task. Rust is notorious for seizing the threads between the shower head and the pipe, acting as an unintended lock.
Mineral Buildup: Hard water is also to blame for another stubborn issue—mineral buildup. Rich in calcium and magnesium, hard water leaves behind a chalky residue that accumulates layer by layer. This buildup can occur inside and around the base of the shower head, cementing it in place. Over time, these mineral deposits can solidify, making the showerhead feel like a permanent fixture.
Old Plumber’s Tape: Plumber’s tape, also known as Teflon tape, creates a watertight seal and prevents joint leaks. However, over the years, old plumber’s tape can dry out, harden, or even disintegrate into a sticky mess that acts more like glue than a sealant. This unintended adhesive effect contributes significantly to the shower head becoming stuck, complicating what should be a straightforward removal process.
Each factor plays a significant role in why shower heads become stuck, turning what might seem like a simple twist-and-turn job into a stubborn ordeal.
Tools and Materials You Will Need
Successfully removing a stuck shower head often requires more than just elbow grease. Equipping yourself with the right tools and materials can distinguish between a frustrating ordeal and a triumphant DIY project. Here’s a list of essentials that will prepare you for the task at hand:
Wrench: An adjustable wrench is indispensable for gripping and turning the shower head or connecting nut without causing damage. Choose one that fits the size of your shower head to ensure a snug grip.
Pliers: Channel-lock pliers can offer the additional leverage needed to initiate movement for particularly stubborn shower heads. They’re also useful for holding the shower arm steady while you unscrew the head, preventing any accidental damage to your plumbing.
Steel Wool: Once you’ve removed the shower head, you may find rust or mineral buildup on the threads of the shower arm or the shower head itself. Fine-grade steel wool is excellent for gently scrubbing these deposits, restoring the metal’s surface without causing scratches.
Vinegar: White vinegar is a natural and effective solution for dissolving mineral buildup. Soaking the shower head in vinegar can loosen the grip of mineral deposits, making removing any remaining buildup after detachment easier.
Plumber’s Tape: Also known as Teflon tape, a plumber’s tape is essential for resealing the threads when you install a new shower head or reattach the old one after cleaning. This tape prevents leaks by ensuring a watertight seal.
Penetrating Lubricant: Products like WD-40 or similar penetrating oils are excellent for breaking down rust and corrosion. A good spray around the connection point can seep into the tight spaces and loosen the bonds formed by rust and corrosion.
Tarp: Protecting your tub or shower floor is essential, especially when dealing with potentially messy substances like vinegar or penetrating oil. A tarp or an old towel can catch drips and spills, making cleanup much easier.
Gathering these tools and materials before removing a stuck showerhead can save time and prevent unnecessary interruptions. With everything at hand, you’re well-prepared to tackle the challenge and emerge victorious.
Step-by-Step Guide to Removing a Stuck Shower Head
Removing a stuck showerhead can seem daunting, but it can be a manageable DIY task with the right approach and tools. Here’s how to tackle it step by step:
Step 1. Preparation
- Turn Off Water Supply: Before attempting any repairs, always turn off the water supply to your shower. This prevents any accidental water flow, making the task safer and drier.
- Lay Down a Tarp: Protect your tub or shower from scratches or damage by laying down a tarp. This also helps catch small parts or debris that may fall during the process.
Step 2. Initial Loosening Attempt
- Hand Attempt: First, try to unscrew the shower head by hand. Grip the shower head or the connecting nut firmly and turn counterclockwise. Some might be surprised that this method can sometimes do the trick without needing tools.
- Using Tools: If the shower head won’t budge by hand, use a pair of pliers or a wrench. Wrap a cloth around the shower head or nut to protect the finish, then gently turn counterclockwise. Apply steady pressure to avoid damaging the shower arm.
Step 3. Applying Penetrating Lubricant
- Apply Lubricant: If the shower head remains stuck, apply a penetrating lubricant like WD-40 around the base where the head connects to the arm. These products can help break down rust and corrosion that bind the metal components.
- Wait: Allow the lubricant to sit for the time recommended on the product label—usually, a few minutes are sufficient for it to penetrate the buildup.
Step 4. Removing Rust and Mineral Buildup
- Soak: If you suspect rust and mineral buildup are significant factors, prepare a vinegar soak by filling a plastic bag with white vinegar and securing it around the shower head. Alternatively, apply a lime remover directly to the affected areas. Leave it for a few hours or overnight for best results.
- Scrub: After soaking, use steel wool or a soft-bristle brush to scrub away the loosened deposits gently. Be careful not to scratch the shower head’s surface.
Step 5. Final Removal Steps
- Reattempt Unscrambling: After applying the lubricant and removing any visible buildup, attempt to unscrew the shower head again using pliers or a wrench, remembering to protect the surface with a cloth.
- Careful Maneuvering: Sometimes, it may help to slightly wiggle or tilt the shower head while turning it to loosen the grip. Ensure you’re not applying excessive force that could damage the shower arm.
- Removal: Once loose, turn the shower head counterclockwise by hand until it comes off completely.
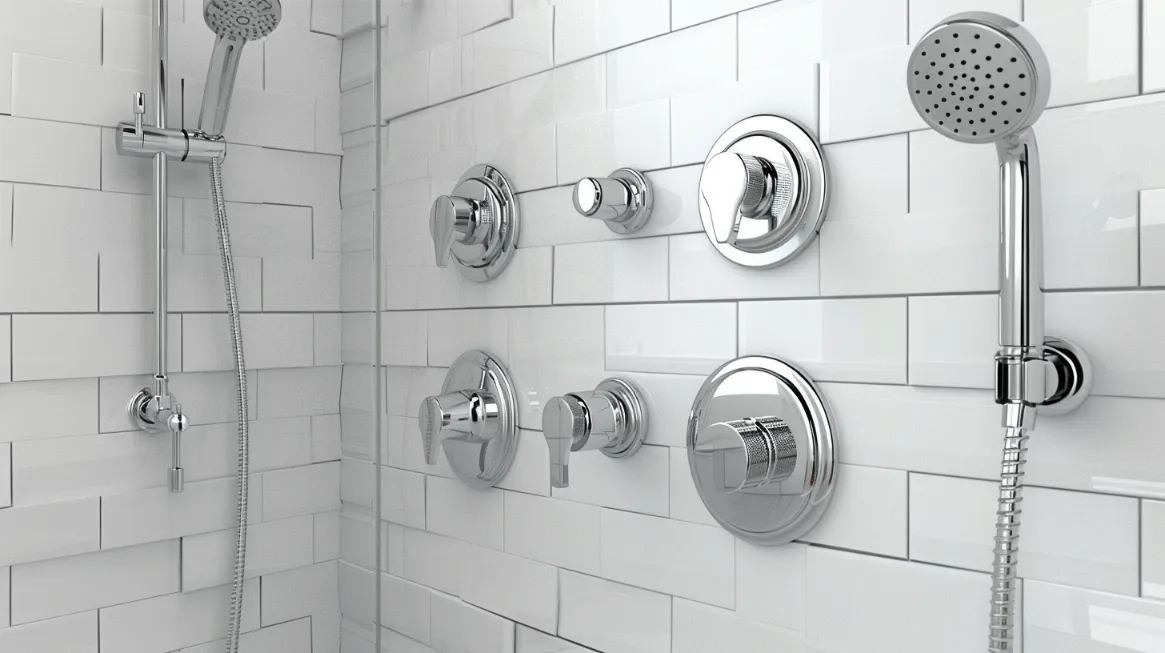
It might be a good time to check the shower valve if you’re also experiencing issues with your shower’s water pressure or temperature. A malfunctioning valve can impact your shower’s performance as much as a clogged or old shower head.
Successfully removing a stuck showerhead is satisfying and can save you the expense and hassle of calling a plumber. You can tackle this and many other home maintenance tasks independently with patience and the right technique.
Installing a New Shower Head
After removing the old, stuck shower head, it’s time to upgrade your shower experience with a new one. Selecting and installing a new showerhead can be straightforward if you follow these steps:
Selecting a New Shower Head
- Research Your Options: Start by considering your needs and preferences. Do you prefer a fixed, handheld, or dual showerhead? Look into water efficiency ratings to save on water bills and support environmental conservation.
- Compatibility: Ensure the new shower head matches your shower arm’s size and threading. Most shower arms have a standard 1/2-inch NPT thread, but it’s always good to double-check.
- Features and Budget: Determine your budget and what features are important to you, such as adjustable spray patterns, water pressure options, and built-in water filtration. There’s a wide range available to suit various preferences and price points.
Installation Process
- Clean the Threads: Before installing the new shower head, clean the threads on the shower arm to remove any old plumber’s tape or residue. A brush or steel wool can be effective for this task.
- Apply New Plumber’s Tape: Wrap the new plumber’s tape (Teflon tape) clockwise around the shower arm’s threads. This helps to ensure a watertight seal and prevents leaks. Wrapping the tape around the threads three to four times is sufficient.
- Attach the New Shower Head: Carefully screw the new shower head onto the shower arm by hand, turning it clockwise. Ensure it’s straight to avoid cross-threading.
- Tighten Securely: Use a wrench for the final tightening once the shower head is hand-tightened. Remember to place a cloth around the shower head to protect its finish from the wrench. However, be careful not to overtighten, as this could damage the threads or the shower head.
- Check for Leaks: Turn the water supply back on and observe if there are any leaks around the connection. If you notice a leak, turn off the water supply and slightly tighten the connection. If leaks persist, additional plumber’s tape may be needed.
Installing a new showerhead can significantly enhance your showering experience. By selecting the right model for your needs and following these installation steps, you can enjoy a refreshing and efficient shower that suits your lifestyle perfectly.
Tips for Preventing Future Shower Head Issues
Regular maintenance and a few preventive measures are key to ensure your shower head remains in optimal condition and prevent future issues with sticking or clogging. Here are some effective tips:
Regular Maintenance
- Routine Cleaning: Make it a habit to clean your shower head every few months. This involves disassembling it (if possible) and removing any debris or mineral buildup in the nozzles. Soaking the shower head in vinegar overnight can effectively dissolve mineral deposits.
- Inspect for Leaks: Check the connection between the shower head and arm for leaks. Even minor leaks can lead to water wastage and potential water damage over time.
- Replace Plumber’s Tape Annually: To maintain a good seal and prevent leaks, replace the plumber’s tape (Teflon tape) wrapped around the threading of the shower arm annually or whenever you remove and reattach the shower head.
Choosing the Right Materials
- Quality Over Price: Invest in a showerhead made from durable materials such as stainless steel or brass, which are resistant to corrosion and wear. While they may cost more upfront, their longevity and performance offer better value in the long run.
- Consider Anti-Clog Features: Some shower heads come with silicone nozzles that are easier to clean and less prone to clogging from mineral deposits. These can be a good choice for areas with hard water.
Using Water Softeners
- Install a Water Softener System: If you live in an area with hard water, installing a whole-house water softener system can significantly reduce mineral buildup in your plumbing fixtures, including shower heads. Water softeners remove minerals like calcium and magnesium from the water, preventing them from depositing on surfaces.
- Descaling Agents: For those who cannot install a water softener, regular use of descaling agents or a simple vinegar soak as part of your cleaning routine can help manage mineral buildup.
By following these tips, you can significantly extend the life of your shower head and maintain its performance.
FAQs
How often should I replace the plumber’s tape on my shower head?
It’s a good practice to replace the plumber’s tape whenever you detach the shower head for cleaning or maintenance, typically once a year. This ensures a tight seal and prevents leaks.
What’s the best type of wrench to remove a stuck showerhead?
An adjustable wrench is ideal because it allows you to fit the size of the wrench exactly to the nut on the shower head, minimizing the risk of damage to the fixture. Always wrap the jaws of the wrench in a cloth to protect the finish of your shower head.
How can I prevent my shower head from getting stuck again?
Regular maintenance, including cleaning and descaling, can prevent mineral and rust buildup. Also, applying a fresh layer of plumber’s tape each time the shower head is reattached can help prevent it from sticking.
Can I use any vinegar to clean the shower head?
White vinegar is most commonly recommended for cleaning shower heads due to its acidity, which helps dissolve mineral buildup. However, any household vinegar can be effective for this purpose.
Conclusion
Maintaining your shower head is essential for ensuring a pleasant shower experience and prolonging the life of your bathroom fixtures.
As we’ve explored, removing a stuck shower head and installing a new one can be straightforward DIY tasks that save you the cost and hassle of hiring a professional. Regular cleaning, using the right materials, and applying new plumber’s tape as needed can prevent future issues and keep your shower running smoothly.
Have you recently tackled a stuck showerhead, or do you have tips and tricks to share? We’d love to hear about your experiences! Comment below with your stories or any questions you might have.


